1U Ubiquiti Pro Max 24-port 1/2.5/10Gbps PoE+/PoE++ switch
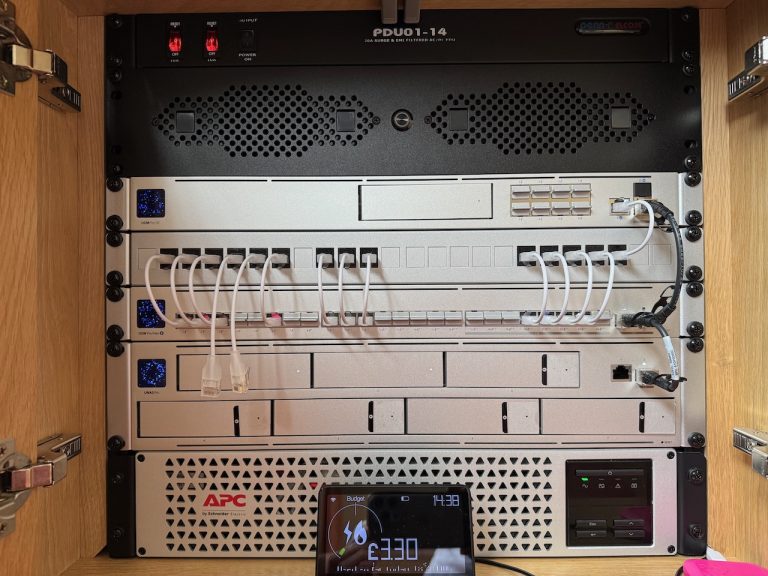
2U unused
2U APC SMTL750RMI2UC 600W/750VA Lithium-Ion UPS
1U Thermostatic controller (for the 3U, twin-fan heat extraction unit mounted at the rear)
In addition to the networking and power devices listed above, a Ubiquiti U6-Pro Wireless Access Point sits on top of the Homelab/PVR cabinet and one or two two Network Attached Storage (NAS) devices reside alongside: Synology DS723+: a multi-function, non-rackmountable server permanently located next to the unit running a Web Server (this site), Plex Media Server, File Server, File Synchronisation, Docker Containers etc. Synology DS716+: a non-rackmountable backup server usually stored in a firesafe but temporarily located adjacent to the DS723+ during backups
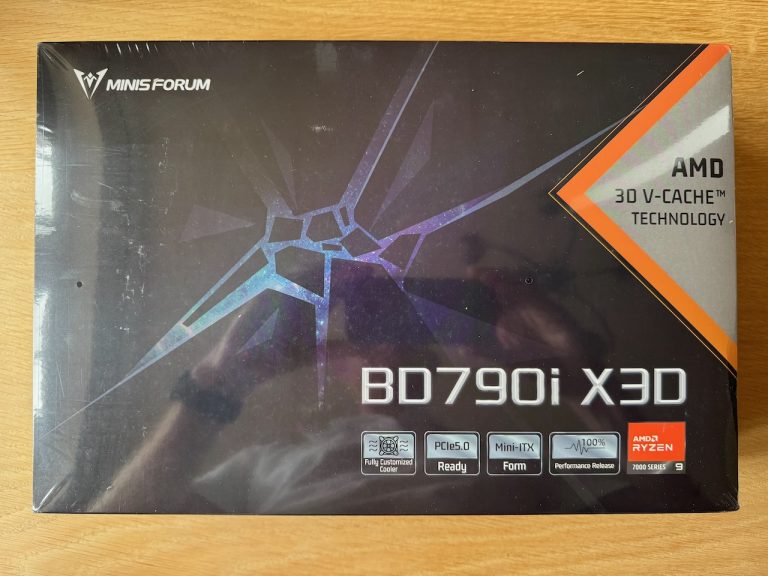
I want to replace the DS723+ with rack-mounted devices. The easy option would be buy one of Synology’s many options but for several reasons have decided to make life difficult (but hopefully more interesting) by separating the functions of the DS723+ across two devices: A 2U Proxmox Hypervisor that I’ll build to run the Web Server, Plex Media Servers, File Synchronisation. and Docker Containers etc. A 2U Ubiquiti UNAS-Pro seven-bay File Server The DS723+ will then be redeployed as a backup server for new devices and the DS716+ retired
As there’s currently only 3U spare within the unit, the very-narrow 1U thermostatic controller will be relocated to the rear of the unit. Viewing the temperature display will be much more difficult but it’s not that important and easier than making another homelab/PVR cabinet
The homelab unit isn’t very deep, limiting the choice of cases that would fit. I ordered this short depth case directly from MyElectronics in the Netherlands at less cost and with faster delivery (three working days) than if I’d ordered from Amazon
Build quality is excellent
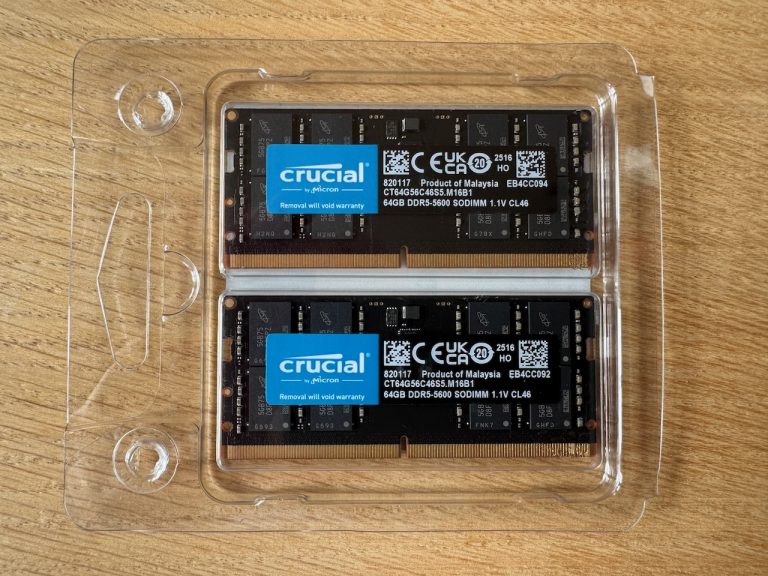
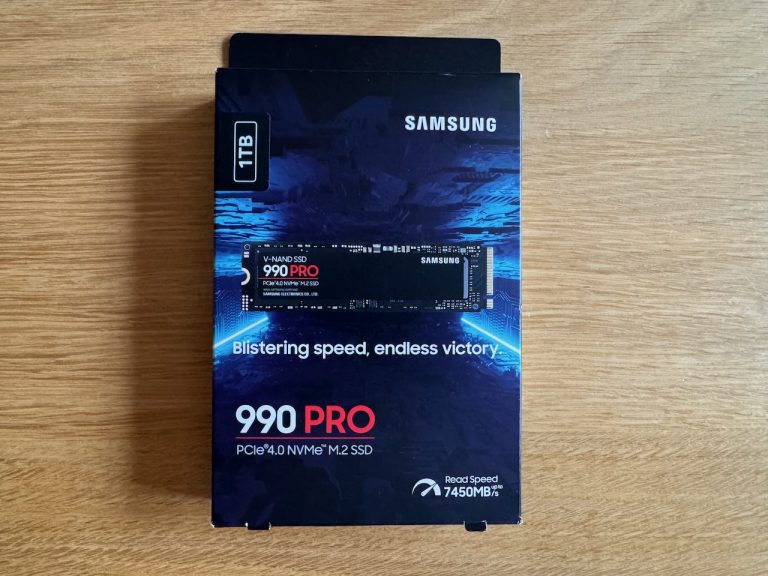
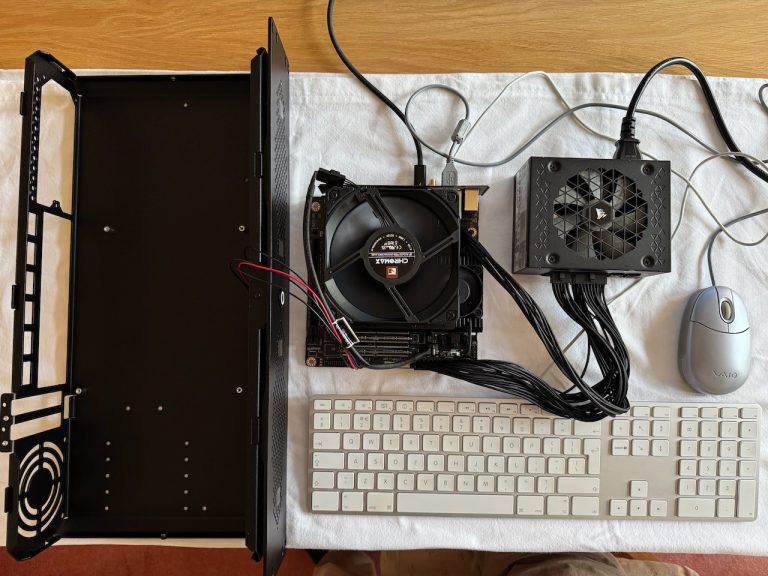
The memory and SSD were mounted in the Minisforum motherboard and the large CPU fan screwed on top
Prior to final assembly in the case, cables were attached between the case on/off switch and motherboard, and the motherboard and power supply (on the RHS). A wired keyboard, mouse and display were then temporarily plugged into the motherboard, power provided to the PSU and …
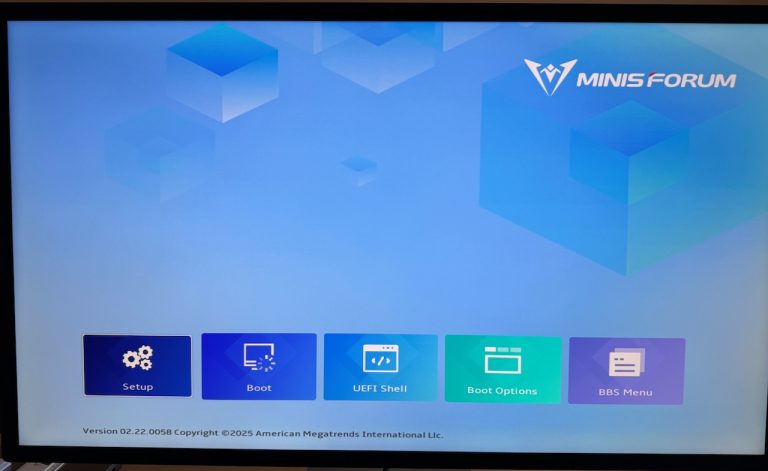
… the system booted into BIOS where a few settings were changed, then …
… the Proxmox ISO was downloaded via my MacBook Pro onto a USB drive, the USB drive plugged into the motherboard and – after resolving a minor problem, the system booted into Proxmox
The keyboard, mouse and display were removed, the remaining components disassembled, then reassembled inside the case and an Ethernet cable attached. Once a successful network connection was established (and the keyboard, mouse and display won’t be required again) the server was relocated to its new home in the homelab unit …
… (immediately underneath the PDU) and joined by the new Ubiquiti UNAS-Pro (immediately above the UPS)